THERE ARE TWO TECHNIQUES WHEN IT COMES TO TRANSFERRING YOUR IMAGES ONTO A SURFACE.
YOU WILL NEED:
-
MM7 Gloss Varnish or MM6 Matt Varnish.
-
Either a 3D item you’d like to adhere transfer OR A substrate
-
(Canvas or wooden panel.)
-
Brush
-
Scissors
-
Selected Images (Photocopy laser prints work best)lay to hold water
-
A spon
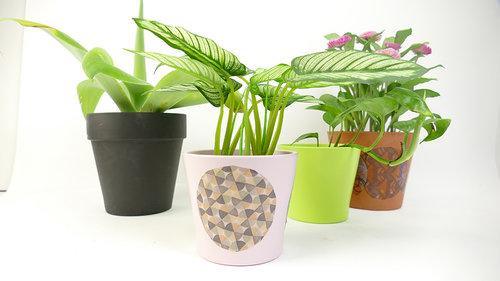
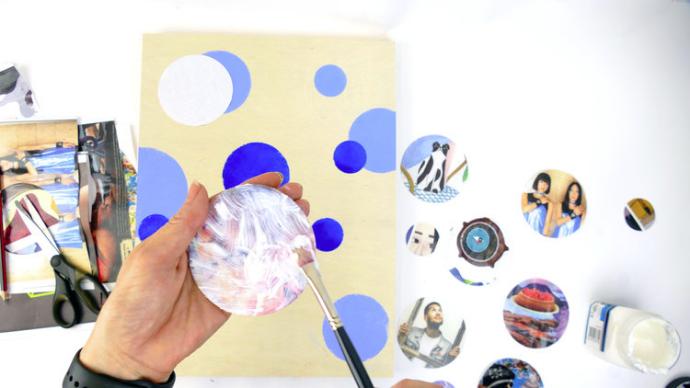
3D TRANSFER
This technique will transfer a colour OR black and white photocopied image onto 3D surfaces.
STEP 1
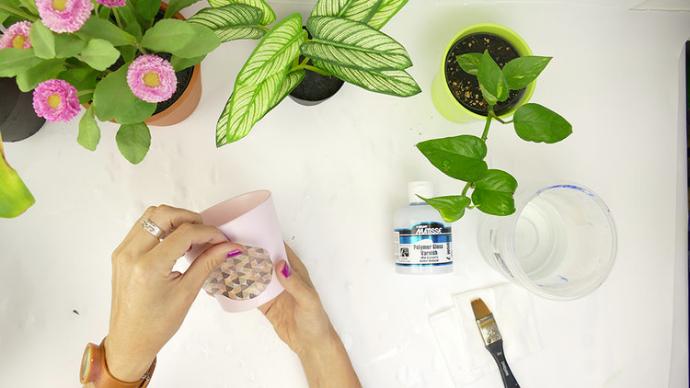
Coat the printed side with Polymer Varnish. Repeat this process until you have 3 generous coats of varnish. (Ensure each layer is touch dry between coats) Now let this dry completely before proceeding (overnight is best).
STEP 2
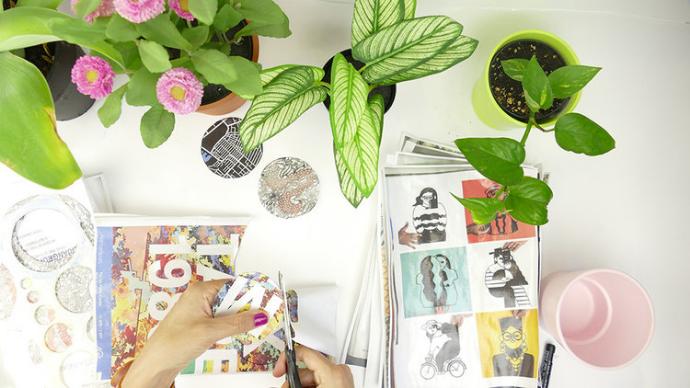
Trim it to the desired size. In this example we are using circles.
Try unusual shapes.
Make sure you get rid of all excess paper, it will make transferring so much easier.
STEP 3
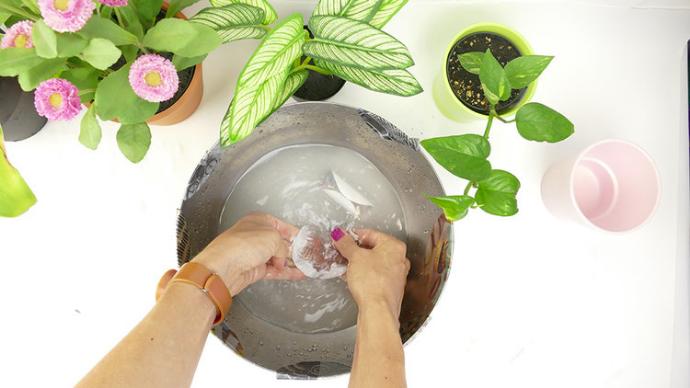
Put the trimmed image into a tray of water and wait for the paper to be wetted through. Start by rubbing the paper backing using a circular motion. The paper will start to roll up into balls and wash away, you should be able to see your image coming through. Continue until all the backing is removed.
STEP 4
Once dried out you are left with the image embedded in the polymer skin. It’s ready to use however you choose. Attach the image to the pot using the Gloss varnish as an adhesive, When completely dry, varnish with a coat of Gloss Varnish.
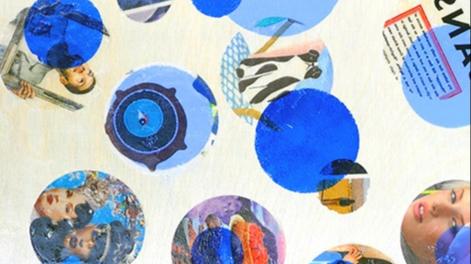
FLAT TRANSFER
This technique will transfer a colour OR black and white photocopied image onto most surfaces, such as stretched canvas, canvas board, Masonite, MDF, fabric, metal, perspex etc.
STEP 1
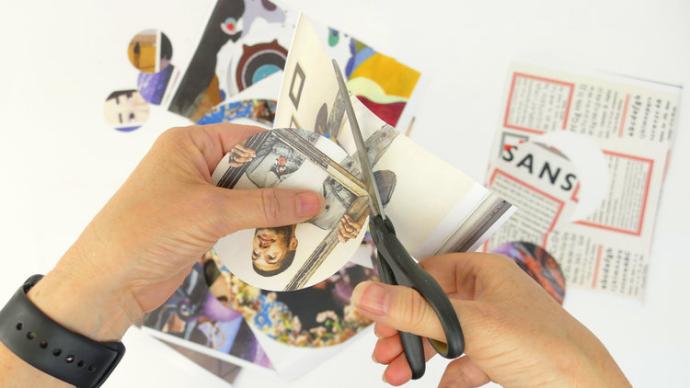
Cut images to chosen shapes, you can use any interesting shape; in this example we have cut circles of varying sizes.
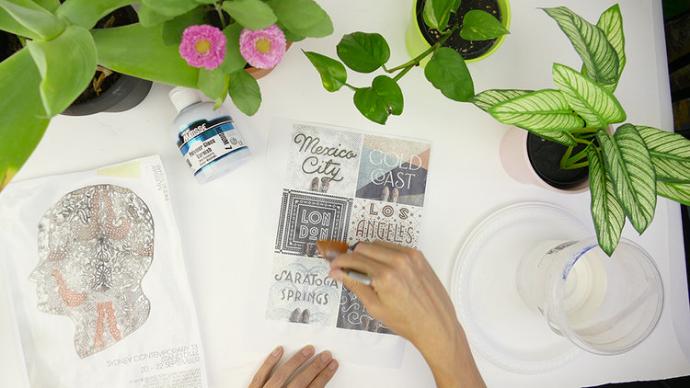
STEP 2
Design the lay out of your art work and use a pencil (2H) to outline the positioning of your images. Before you start drawing this outline, take your time in deciding on an interesting composition, remembering that the image will be in.

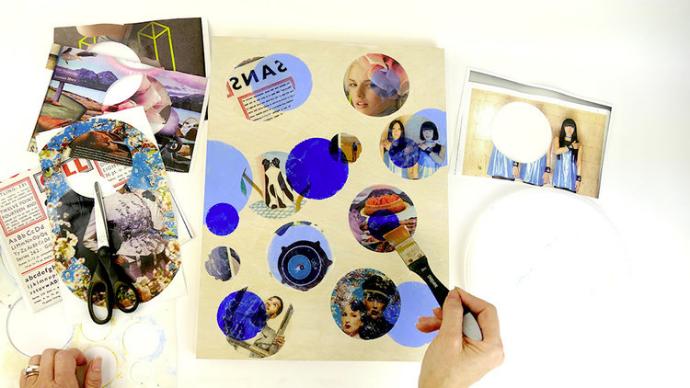
STEP 3
Apply a generous layer of the varnish to the front of the image. While it is still wet, place the image face down into the position as drawn out earlier. Allow this to dry out thoroughly (overnight).
STEP 4
When completely dry, dampen the paper with a wet sponge. Give it a few minutes to allow the water to penetrate the paper pulp. Begin rubbing carefully to remove the paper, if you are having problems removing the pulp just add more water. This will remove the bulk of the pulp; however you will need to repeat this process until the image is easily visible.
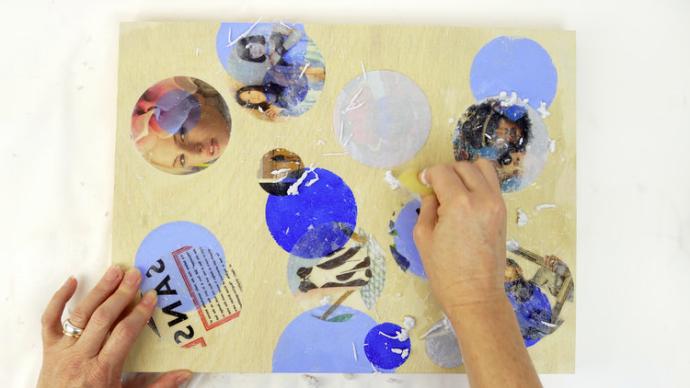
STEP 5
Having removed all the bulk of the paper pulp you will find that the image appears slightly cloudy. To overcome this, varnish the image with a coat of varnish.

To install this Web App in your iPhone/iPad press ![]() and then Add to Home Screen.
and then Add to Home Screen.
