This is the effect of using paint to make a surface look like marble. This painted finish is what is referred to as a faux finish (faux is French for false or fake). It may also be referred to as trompe l'oeil
French for "deceives the eye").
Marbling should not be confused with marbelising which is the technique of floating paint on water and immersing the substrate (the surface to be coated) in the water, coating the substrate as it is removed.
Planning
In order to obtain the most realistic finish, keep in mind the limitations of the material being copied. For example, if a large wall is to be marbled, it would be advisable to break up the surface into sections simulating sheets of marble rather than attempting to make the wall look like one whole piece. This can easily be done by using tape to mask off each section at a time. Taking this one step further, a shadow can be added along the masked line to give a faux bevelled edge to the "slab" of marble. When marbling a flat surface such as a table, marbling the edges and following through with the pattern of the veins will help to create a much more realistic finish.Preparation
Faux marble will look more realistic if the surface to which it is to be applied is smooth. It should be applied free of brushstrokes. The basecoat to be used should be water-based, flat to semi-gloss in sheen. Matisse Background Colours have been designed to level out (reducing brushstrokes) and are opaque for good coverage. For more detailed information on surface preparation, see Surface Preparation.
The colours to be used will depend on the type of marble that is being imitated.
Scumble Glaze/Marbling Gel
There are many different ways to marble; however, they all vary around one main ingredient. The main ingredient used in marbling and many other painted finishes is known by several different names: scumble, scumble glaze, glazing medium etc. In the range of Matisse Mediums, it is known as MM16 Faux Finish & Marbling Gel.
The main characteristic of this medium is slow drying to allow time to work the paint. It also helps to extend the paint, making it more transparent thus showing the undercoat. It allows the paint to hold the marks made by varying tools that are used for different finishes. It retards the ability of the different colours to intermix which will keep the colours separate (this is one of the techniques employed in marbling).
Method
In this example, the colours used will be those described below for white marble.
Step 1:
Leave the base coat to dry.
Step 2:
Pour approx 3 tablespoons of MM16 Faux Finish & Marbling Gel into a dish or palette; add to this approx 2cm of Matisse Flow Formula Titanium White squeezed out of a tube.
Step 3:
Do not mix these in the tray. Simply dip a damp sea sponge into this and allow the paint and gel to mix on the sponge as it is patted onto the project. Cover no more than approx 30cm x 30cm as the area may dry before the next step is reached.
Step 4:
While step 3 is still wet, add approximately 0.5cm of both Matisse Flow Formula Mars Black and Paynes Grey to approx 3-4 tablespoons of the marbling gel. Once again, do not mix the paint and gel but rather drag a feather, a damp Chinese calligraphy brush or even a fine liner brush through the gel and a small amount of the paint.
Holding the brush or feather at the very end, draw in some veins. Study some marble to see which way the veins go. It is fairly safe to assume they do not cross like an X, they do not have a hub in the middle like a spider's web, they are not all parallel and evenly spaced apart. They are staggered in appearance like a line made up of a whole lot of shorter straight lines rather than curves.
Step 5:
Once the veins have been put on and whilst both step 3 and 4 are drying (but still wet), use a very soft mop brush or badger hair brush to soften and blend the veins into the background (step 3).
This is achieved by brushing ever so lightly over the surface with the brush ensuring the brush remains dry and free of paint. Where areas of the paint are quite wet, when stippling with the brush (hitting the surface in a perpendicular motion) to blend the veins, be careful the brush remains dry.
This softening process should give variations of blending with veins where the gel and white paint are in various thicknesses. This should result in differences in tone (white and veins) and colour (between Mars Black and Paynes Grey).
Step 6:
Leave to dry.
Step 7:
Varnish with a high gloss varnish (such as MM7 Polymer Gloss Varnish or MM14 Gloss Varnish (turps-based)).
Colours
One of the main considerations when marbling is colour. Listed below are some suggestions of colours to be used for various types of marble. This is by no means an exhaustive list; however, with practice and experimentation, one should be capable of copying any type of marble desired.
Carrara or White Marble
Basecoat: Matisse Background White.Sponge coat: MM16 Faux Finish & Marbling Gel mixed with Matisse Flow Formula Titanium White.
Veins: Matisse Flow Formula Mars Black and Paynes Grey.
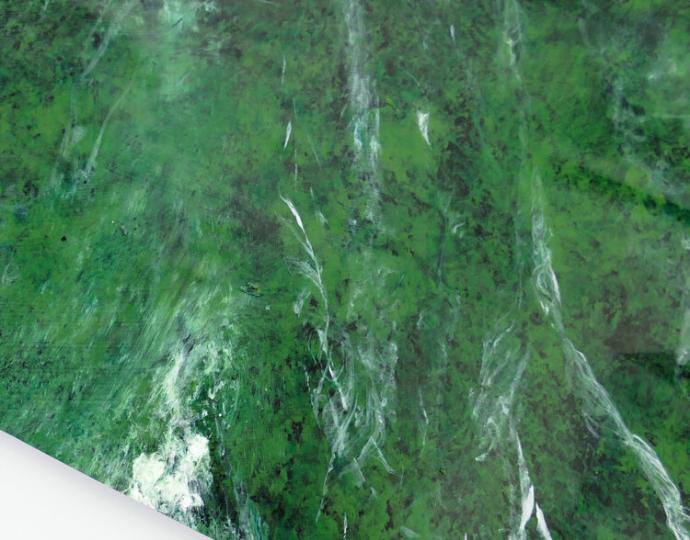
Green Marble
Basecoat: Matisse Background Folk Black.Sponge coat: MM16 Faux Finish & Marbling Gel and Matisse Flow Formula Chromium Green Oxide, with a very small amount of Hookers Green and Phthalo Green.
Veins: Matisse Flow Formula Titanium White.
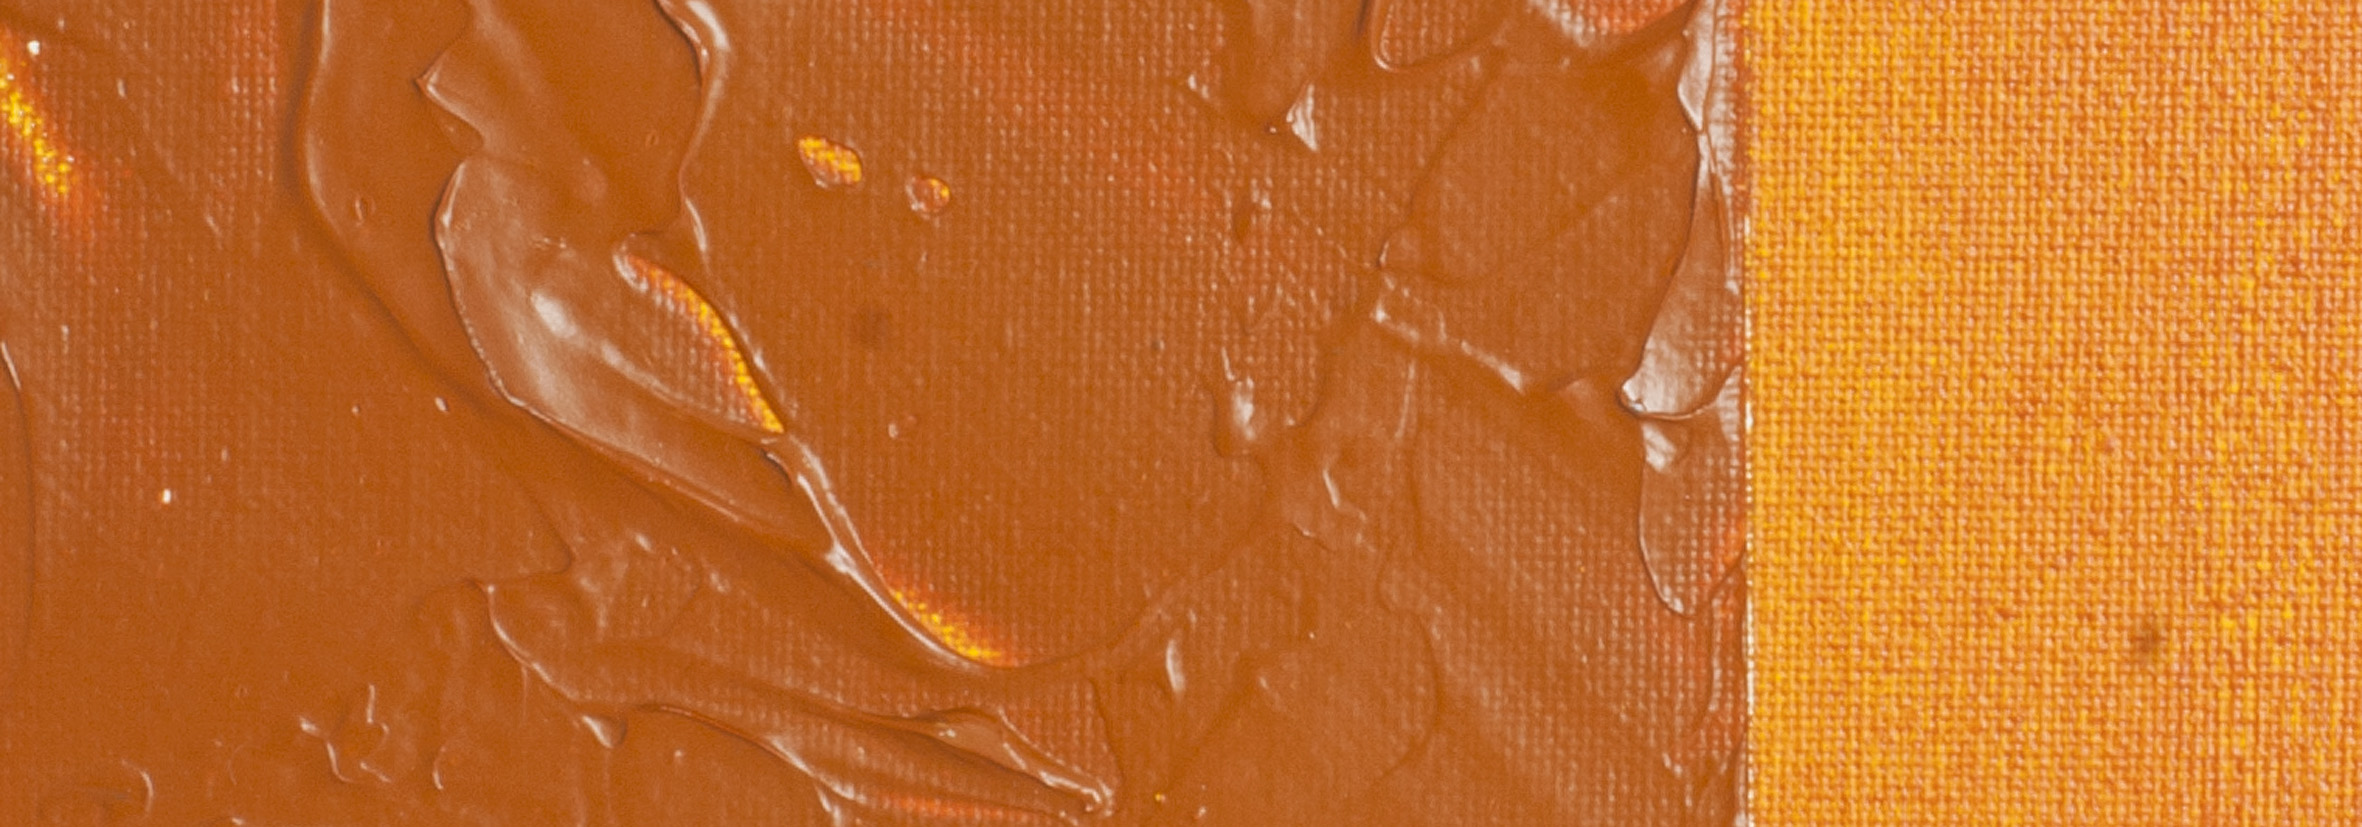
Sienna Marble
Basecoat: Matisse Background White.Sponge coat: MM16 Faux Finish & Marbling Gel mixed with Matisse Flow Formula Titanium White.
Veins: Matisse Flow Formula Mars Black and Paynes Grey.
Top sponge coat: MM16 Faux Finish & Marbling Gel and Matisse Flow Formula Australian Sienna. Apply this coat with the sea sponge over most of the surface, leaving some areas white (the white showing through). As this coat is drying, soften and blend some of the harder edges and the areas that show obvious sponge marks.
Finishing off
As the vast majority of marble that we see is highly polished, two or more coats of a high gloss varnish is recommended to finish off the work. MM7 Polymer Gloss Varnish diluted two parts to one part water would be recommended for indoor use. For outdoor use, an additional two coats of undiluted MM14 Final Varnish Gloss Finish (turps-based) would be recommended.
To install this Web App in your iPhone/iPad press ![]() and then Add to Home Screen.
and then Add to Home Screen.
